

Ever wondered how you can enjoy fresh, homegrown carrots without needing a big garden? Picture this: craving a crunchy carrot straight from your own harvest, no store-bought substitutes. In this article, you’ll discover the secrets to growing vibrant carrots in convenient grow bags. No need for a vast outdoor space or complicated gardening skills. You’ll learn how to nurture your carrots from seed to table, reaping the rewards of your efforts. Get ready to savor the satisfaction of growing your own delicious, organic carrots with ease.
Choosing the Right Grow Bags
When choosing grow bags for your carrots, consider the following:
- Size: Select bags at least 10-12 inches deep to allow proper root development.
- Material: Opt for breathable fabric bags which prevent waterlogging and allow air circulation.
- Handles: Look for bags with sturdy handles for easy transportation.
Selecting Carrot Varieties to Grow
When choosing carrot varieties to grow in your grow bags, consider the following factors to ensure a successful harvest:
- Root Size: Opt for shorter carrot varieties like ‘Paris Market’ or ‘Thumbelina’ for grow bags, as they do well in confined spaces.
- Color and Shape: Experiment with different colors and shapes such as purple, yellow, or round carrots to add visual interest to your harvest.
- Growing Season: Select carrots suited to your climate for optimal growth. Varieties like ‘Adelaide’ or ‘Bolero’ are versatile and adapt well to various conditions.
- Flavor Profiles: Choose sweet and tender varieties such as ‘Nantes’ or ‘Danvers’ for a delightful snacking experience straight from your grow bags.
By considering these factors, you can select carrot varieties that thrive in grow bags, providing you with a bountiful and diverse harvest.
Recommended Products
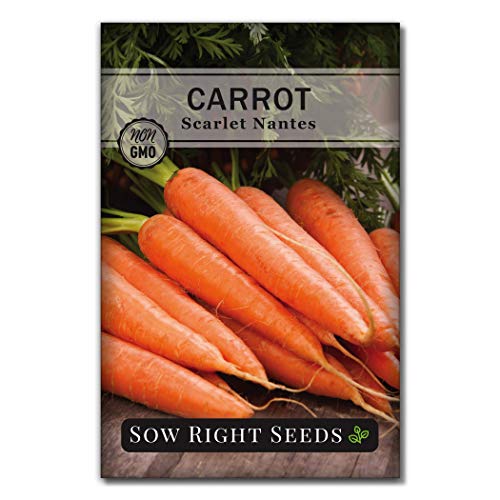
Beautiful - Full color packet of Scarlet Nantes Carrot (Daucus var. 'Scarlet Nantes') Seed. Bright red-orange, fine-grained brittle flesh that is nearly coreless with a fine very sweet flavor. Colors up early for little mini baby carrots. Minimum of 800 mg per packet (about 450 seeds).

The Best Value - Organo Republic Royal Chantenay Carrot Seeds Pack contains 1g or 850 of Non-GMO heirloom carrot seeds. Royal Chantenay Carrot (Daucus carota subsp. Sativa) is known for its sweet, crunchy, orange flesh, this carrot variety is the perfect addition to fresh vegetable salad or culinary creations.

Sweet Scarlet Nantes Roots - Grow orange, nearly coreless carrots with a tender bite and classic cylindrical shape. Harvest roots around 6-7 inches for fresh garden snacks, salads, roasting, soups and juicing.
Preparing the Grow Bags for Planting
To get your grow bags ready for planting, follow these simple steps:
- Choose the Right Size: Opt for grow bags that are at least 12 inches deep to allow ample space for carrot roots to grow downwards.
- Ensure Proper Drainage: Poke drainage holes at the bottom of the grow bags to prevent waterlogging and maintain soil aeration.
- Select Quality Soil: Use a well-draining potting mix rich in organic matter. Avoid compacted soils to promote healthy root development.
- Fill the Grow Bags: Fill the grow bags with the soil mix, leaving about an inch of space from the top to prevent soil spillover.
- Moisten the Soil: Lightly moisten the soil before planting your carrot seeds to provide a suitable environment for germination.
- Position in Sunlight: Place the filled grow bags in a sunny location where your carrots can receive at least 6 hours of sunlight daily.
Recommended Products
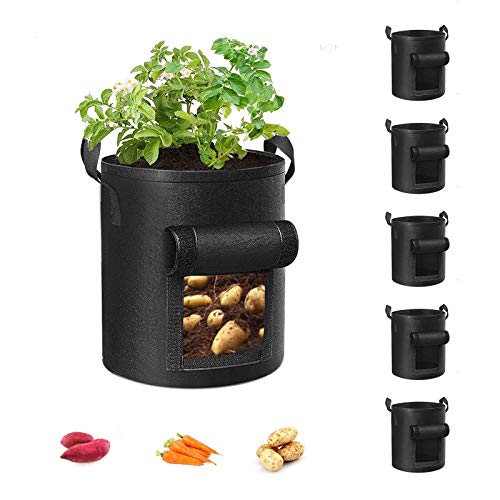
Durable Material: Made of 300g thick non-woven fabric that can be reused for more than 3 years.

Lyincat 4 Pack 10 Gallon Potato Grow Bags with Flap and Handles, Heavy Duty Fabric Pots for Planting Potato,Carrots,Taro
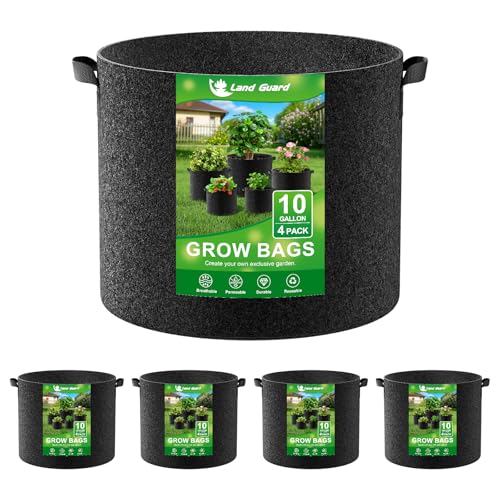
Sturdy Fabric Material: Our Non-Woven fabric grow bags are crafted using high-strength weaving technology, which allows the planting bags to remain lightweight while possessing an impressive ability to bear weight.
Planting Carrot Seeds in Grow Bags
When it comes to Planting Carrot Seeds in Grow Bags, follow these simple steps to set the stage for a bountiful harvest:
- Prepare the Soil: Fill the grow bag with high-quality soil rich in organic matter. Ensure it is well-draining to prevent waterlogging.
- Moisten the Soil: Before planting the carrot seeds, it’s essential to moisten the soil. This helps create the right environment for germination.
- Sow the Seeds: Plant the carrot seeds in the moistened soil according to the recommended spacing instructions. Cover them lightly with soil.
- Keep it Moist: Carrot seeds need consistent moisture for germination. Water the soil gently to keep it moist but not waterlogged.
- Provide Adequate Sunlight: Place the grow bags in a sunny spot that receives at least 6 hours of sunlight a day. This is crucial for the carrots to grow and develop well.
- Monitor Growth: Keep an eye on the growth progress of your carrot seeds. Thin out seedlings if they are too close together to allow proper root development.
- Harvest Time: When the carrot roots reach a suitable size, it’s time to harvest them. Gently pull them out of the soil for fresh, home-grown carrots.
- Successive Planting: For a continuous harvest, consider planting carrot seeds in intervals every few weeks.
Caring for Carrots as They Grow
Once your carrot seeds have sprouted, watering is crucial, especially during dry spells. Carrots need about 1 inch of water per week. Ensure the soil stays consistently moist but not waterlogged.
Thinning your carrot seedlings is essential to prevent overcrowding. When they reach 2 inches in height, gently remove some seedlings to provide adequate space for the remaining plants to grow.
Mulching around your carrot plants helps retain moisture, regulate soil temperature, and suppress weed growth. Consider using straw or leaf mulch to protect the roots.
Keep an eye out for pests, such as carrot rust flies and aphids. Inspect your plants regularly and take necessary measures to protect them from infestations.
Fertilize your carrots sparingly to avoid lush foliage at the expense of the roots. A balanced fertilizer applied when the plants are about halfway to maturity can help promote healthy growth.
- Consistent watering: Aim for about 1 inch per week.
- Thinning seedlings: Ensure proper spacing for healthy growth.
- Mulching: Use straw or leaves to retain moisture and deter weeds.
- Pest control: Monitor for pests and take action promptly.
- Fertilization: Apply a balanced fertilizer midway through the growing season.
By following these care tips, you’ll be well on your way to cultivating a bountiful harvest of delicious, homegrown carrots in your grow bags.
Harvesting Your Homegrown Carrots
Knowing When to Harvest:
- Carrots are ready to harvest when the tops reach about 1 inch in diameter at the soil level.
- You can also gently pull out a carrot to check its size and taste for maturity.
Harvesting Techniques:
- To harvest, grab the green top of the carrot close to the soil and gently pull it out.
- For hard or compacted soil, use a garden fork to loosen the soil around the carrot before pulling.
- After harvesting, cut off the green tops to prevent them from drawing moisture from the roots.
- Store carrots in a root cellar, fridge, or in slightly damp sand to maintain freshness.
- Freshly harvested carrots are a great addition to salads, stir-fries, or simply as a crunchy snack.
- Get creative with carrot recipes – from soups to cakes, the possibilities are endless!
| Important Facts |
|---|
| Carrots are ready to harvest when the tops reach about 1 inch in diameter at the soil level. |
| Store carrots in a root cellar, fridge, or in slightly damp sand to maintain freshness. |
| Freshly harvested carrots are a great addition to salads, stir-fries, or simply as a crunchy snack. |
Conclusion
You’ve now learned the essential steps to successfully grow and harvest carrots in grow bags. Remember to monitor their growth, harvest at the right time, and store them properly for long-lasting freshness. With your freshly harvested carrots, the culinary possibilities are endless. Enjoy the satisfaction of growing your own produce and savor the delicious flavors in your favorite dishes. Happy gardening and happy cooking with your homegrown carrots!
Frequently Asked Questions
When is the best time to harvest homegrown carrots?
Carrots are typically ready to harvest when their tops reach about 3/4 to 1 inch in diameter. Taste-testing for sweetness can also indicate maturity.
What are the recommended harvesting techniques for carrots?
To harvest carrots, gently pull them out of the soil. For compacted soil, use a garden fork to loosen the ground before pulling.
How should harvested carrots be stored?
After harvesting, cut off the green tops to prevent moisture loss. Store carrots in a root cellar, fridge, or slightly damp sand to maintain freshness.
Can freshly harvested carrots be used in recipes?
Yes, freshly harvested carrots are versatile and can be used in a variety of dishes. Get creative and incorporate them into your favorite recipes for added flavor and nutrients.
