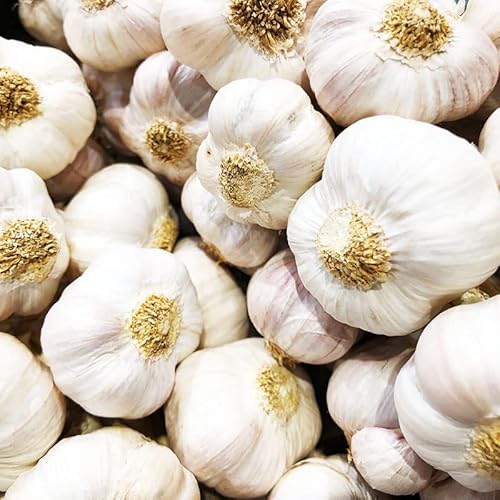
Growing garlic from a clove is straightforward and rewarding. By selecting the right cloves and following a few essential steps, you can cultivate a robust garlic crop in your garden or containers.
Essential Tools for Garlic Cultivation
To successfully grow garlic from a clove, having the right tools is crucial. This section outlines the essential equipment and materials you’ll need to ensure a thriving garlic crop, from planting to harvesting. With the proper preparation, you can cultivate robust garlic that enhances your culinary creations.
To successfully grow garlic, gather the necessary tools and materials. This ensures you are prepared for each stage of the process.
| Item | Purpose |
|---|---|
| Garlic cloves | The main planting material |
| Garden fork | To loosen soil |
| Compost or fertilizer | To enrich the soil |
| Watering can | To provide moisture |
| Mulch | To retain soil moisture and suppress weeds |
Garlic Planting Area Preparation Tips
Preparing the planting area is crucial for successful garlic growth. Proper soil conditions and site selection can significantly impact the health and yield of your garlic crop. This section will provide essential tips to ensure your planting area is optimized for robust garlic development.
Preparing your planting area is crucial for garlic growth. Choose a sunny location with well-draining soil. Remove any weeds and rocks to create a clean planting bed.
Consider the following steps for optimal preparation:
Test the soil pH: Garlic thrives in slightly acidic to neutral soil (pH 6.0-7.0).
Amend the soil: Incorporate compost or organic fertilizer to enhance nutrient content.
Loosen the soil: Use a garden fork to aerate the soil, promoting root development.
Wear gloves when handling soil amendments to protect your skin from irritants.
Garlic Clove Planting Techniques for Success
Planting garlic from a clove is a straightforward process that can yield a bountiful harvest with the right techniques. Understanding the best practices for planting will ensure your garlic thrives, providing flavorful bulbs for your kitchen. This section outlines effective methods to help you achieve successful growth from your garlic cloves.
Planting garlic requires attention to detail to ensure successful growth. Follow these steps for effective planting.
Select healthy cloves: Choose large, firm cloves from disease-free bulbs.
Separate the cloves: Carefully break apart the bulbs, keeping the papery skins intact.
Plant at the right depth: Dig holes 2 inches deep and place cloves with the pointed end facing up.
Space the cloves: Maintain a distance of 6 inches between each clove to allow for growth.
Water thoroughly: After planting, water the area to settle the soil around the cloves.
Garlic typically requires consistent moisture, especially during the growing season.
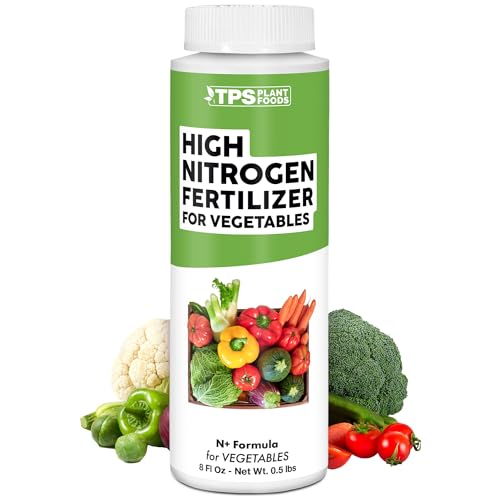
Recommended Products

A great tasting healthy. Heirloom, Non-GMO

A great tasting healthy. Organic, Heirloom,
Bold, Rich Flavor: Known for their robust, spicy taste that intensifies when cooked—perfect for roasting, sautés, and garlic-infused oils.
Garlic Growth Maintenance Techniques
Maintaining healthy garlic plants is essential for a successful harvest. Understanding the specific growth techniques can significantly impact the quality and yield of your garlic. This section outlines effective strategies to ensure your garlic thrives throughout its growth cycle.
Once planted, garlic needs proper care to thrive. Regular maintenance will promote healthy growth and yield.
Water regularly: Ensure the soil remains moist but not waterlogged.
Apply mulch: Use straw or wood chips to retain moisture and suppress weeds.
Monitor for pests: Check for signs of garlic bloat fly or aphids, which can affect growth.
Recommended Products
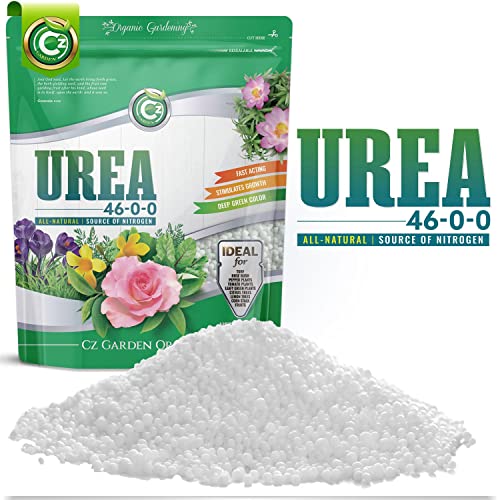
PREMIUM QUALITY INGREDIENTS – Cz Garden Urea is a water soluble, high purity nitrogen fertilizer designed to boost the healthy development of all your indoor flowers, lawn, and garden vegetables.

Made for Nitrogen Support – Formulated to supply nitrogen for essential plant nutrition.
High Nitrogen for Leafy Growth – Supports lush foliage and strong vegetative stages.
Garlic Fertilization Timing for Optimal Growth
Understanding the right timing for fertilizing garlic is crucial for maximizing its growth potential. Proper fertilization not only enhances the flavor and size of the bulbs but also supports healthy plant development. This section will outline the best practices for timing your garlic fertilization to ensure a bountiful harvest.
Garlic benefits from a well-timed fertilization schedule. Apply fertilizer at key growth stages to maximize yield.
| Stage | Type of Fertilizer | Application Timing |
|---|---|---|
| Planting | Organic compost | At planting |
| Early growth | Nitrogen-rich fertilizer | 4-6 weeks after planting |
| Mid-season | Balanced fertilizer | 8-10 weeks after planting |
Optimal Garlic Harvesting Timing
Timing is crucial for a successful garlic harvest, as it directly impacts the flavor and storage quality of the bulbs. Understanding the signs that indicate when your garlic is ready to be pulled from the ground can make all the difference in your gardening efforts. This section outlines the key indicators to look for to ensure a bountiful harvest.
Timing is essential when harvesting garlic. Overripe garlic can lead to bulb splitting, while premature harvesting can result in smaller bulbs.
Check the leaves: Harvest when the lower leaves begin to yellow and dry out.
Loosen the soil: Use a garden fork to gently lift the bulbs from the ground.
Handle carefully: Avoid damaging the bulbs while pulling them from the soil.
Do not wash garlic before curing, as moisture can lead to rot.
Garlic Curing Techniques for Extended Storage
Properly curing garlic after harvest is essential for maximizing its shelf life and flavor. This process not only enhances the taste but also prevents spoilage, allowing you to enjoy your homegrown garlic for months. Understanding the right techniques for curing can make a significant difference in your garlic storage success.
Curing garlic is vital for long-term storage. This process enhances flavor and prevents spoilage.
Hang in a cool, dry place: Use a mesh bag or braid the stems and hang them.
Allow to cure for 2-3 weeks: Ensure good airflow to prevent mold.
Trim and store: Once cured, trim roots and stems, then store in a cool, dark place.
Properly cured garlic can last several months if stored correctly.
Follow these steps to grow garlic successfully from a clove. By preparing adequately and caring for your plants, you can enjoy a bountiful harvest.